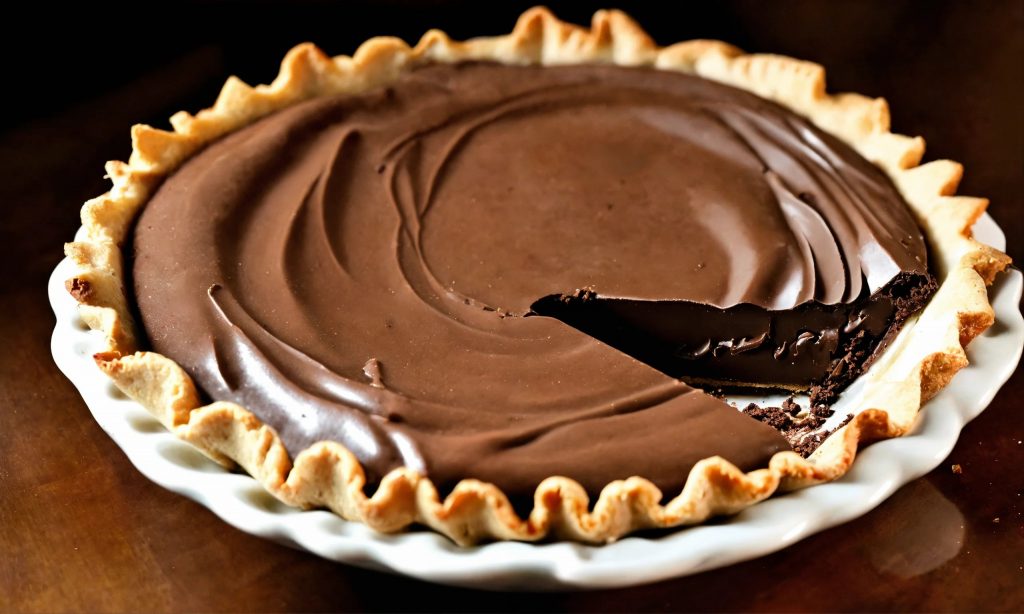
Creating a chocolate pie crust from scratch might seem daunting, but it’s a game-changer for any dessert. Whether you’re a seasoned baker or new to the kitchen, this guide will walk you through everything you need to know about making a deliciously rich chocolate pie crust that can serve as the base for countless desserts.
Introduction
A chocolate pie crust is more than just a base; it’s a crucial element that can elevate your dessert from good to unforgettable. This crust can vary from a crumbly, biscuit-like texture to a smooth, pastry-like consistency, depending on the recipe and technique used. The versatility of a chocolate crust makes it perfect for both baked and no-bake desserts, from classic pies and tarts to cheesecakes and beyond.
Types of Chocolate Pie Crusts
When it comes to chocolate pie crusts, there are several types to choose from, each offering a unique texture and flavor profile:
- Oreo Pie: A favorite for no-bake desserts, offering a crunchy texture and deep chocolate flavor.
- Homemade Chocolate Pie Crust: Made from scratch, this crust is rich and can be adapted for both baked and no-bake recipes.
- Chocolate Cookie Crumb Crust: A versatile option that works well with a variety of fillings.
- Italian Chocolate Pie Crust/Pasta Frolla: A tender crust with a subtle chocolate taste, perfect for pies and cookies.
For those interested in exploring various chocolate pie recipes, consider checking out this guide to making a Chocolate Raspberry Mousse Cake, which could provide additional inspiration for using your pie.
Ingredients
The basic ingredients typically include:
- Flour: Provides the structure.
- Cocoa Powder: Gives the crust its chocolate flavor.
- Sugar: Adds sweetness and helps with browning.
- Butter: Ensures a flaky texture.
- Water: Binds the dough together.
Adjusting these ingredients can lead to different types of crusts, catering to various dietary needs and preferences. For those looking to expand their pie repertoire, consider exploring the Ultimate Guide to Coconut Cream Meringue Pie, which could beautifully complement a chocolate pie crust.
Step-by-Step Guide to Making Chocolate Pie Crust
- Combine dry ingredients: Mix flour, cocoa powder, and sugar.
- Cut in the butter: Use a pastry cutter or food processor until the mixture resembles coarse crumbs.
- Add water: Slowly incorporate cold water until the dough comes together.
- Chill: Wrap the dough in plastic and refrigerate for at least an hour.
- Roll out: On a floured surface, roll the dough to fit your pie dish.
- Bake or fill: Pre-bake for baked desserts or fill directly for no-bake options.
Tips for Perfect Chocolate Pie Crust
- Ensure all ingredients, especially butter and water, are cold to achieve a flaky crust.
- Don’t overwork the dough to prevent it from becoming tough.
- Use pie weights when pre-baking to avoid puffing up or shrinking.
FAQs
- How to store chocolate pie crust? Wrap tightly and store in the refrigerator for up to 5 days or freeze for longer storage.
- Can chocolate pie crust be made gluten-free? Yes, by substituting all-purpose flour with a gluten-free blend.
- Best fillings for chocolate pie crust? Chocolate ganache, peanut butter mousse, and fruit fillings are excellent choices.
Decorating and Filling Ideas
- Creative filling ideas:
- Chocolate ganache topped with whipped cream
- Vanilla custard with fresh berries
- Peanut butter mousse with chocolate shavings
- Decoration tips:
- Use cookie cutters for decorative pie crust edges.
- Garnish with chocolate curls or powdered sugar for an elegant finish.
Pairing
- Best drinks to pair with chocolate pie:
- Coffee or espresso to complement the chocolate flavor
- A glass of red wine for a luxurious experience
- Complementary flavors:
- Vanilla, raspberry, and mint enhance the chocolate’s richness.
Troubleshooting Common Issues
- How to fix a crumbly crust: Add a bit more water to the dough and mix gently.
- What to do if the crust is too hard: Ensure not to overbake and keep the dough chilled before baking.
Creating the perfect pie is an art that requires patience and practice. By following this guide, you’ll be well on your way to making desserts that not only taste incredible but also look professionally made. Remember, the key to a great chocolate pie crust lies in the quality of the ingredients and the love you put into making it. Happy baking!
For more delicious recipes and baking inspiration, check out these fantastic resources:
- Epicurious Chocolate Pie Recipes – Explore a wide range of chocolate pie recipes that are perfect for any season.
- The Pioneer Woman’s Easy Chocolate Pie Recipe – Dive into a classic and indulgent chocolate pie recipe that’s easy to make and delicious to taste.
- Yummly Chocolate Crumb Pie Crust Filling Recipes – Get innovative with your pie crust by discovering new and exciting filling ideas.

